

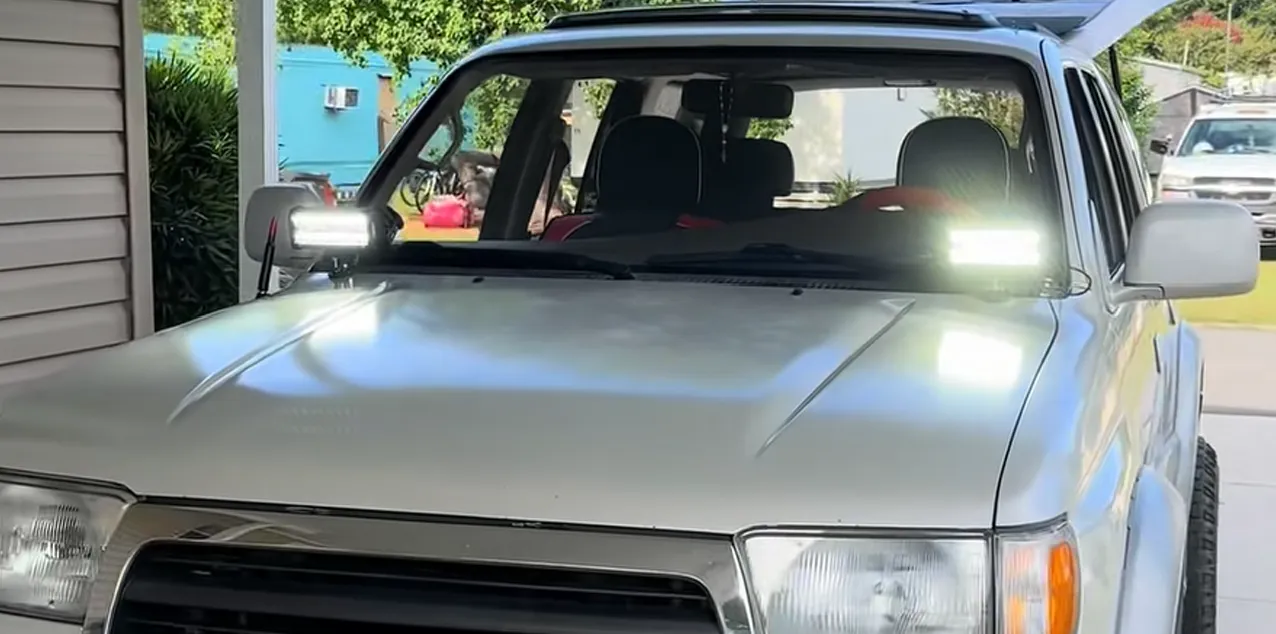
Why Your Mounting Location Matters So Much
Before grabbing your drill, you need to understand how light behaves. Where you mount your lights completely dictates how they perform out in the wild. A high mount shines further down the trail, revealing distant obstacles. A lower mount cuts right through thick fog, snow, and trail dust.
Figuring out what is the best placement for a light bar is all about matching the location to your driving style. Are you a high-speed desert runner? Do you crawl over slow, rocky terrain in the woods? Knowing your environment is the first step to making the right choice.

Top Mounting Spots: What Is the Best Placement for a Light Bar?
Let us break down the most popular mounting locations. Each spot has its own unique benefits and drawbacks.
1. Above the Windshield (The Roof Mount)
Mounting lights high up gives you maximum distance. If you want to see far down a straight dirt road, an LED light bar for truck roof setups is incredibly popular. It floods the entire area ahead with bright light, mimicking daylight.
However, there are a couple of drawbacks to consider. Roof mounts can cause massive glare on your windshield and hood. They can also catch on low-hanging branches if you frequently drive through tight, wooded trails. Wind noise at highway speeds is another factor to keep in mind.
2. On the Front Bumper (Versatile and Clean)
Are you looking for a clean, factory-style look? A truck bumper LED light bar is a fantastic and versatile choice. It keeps your lights low and out of the way of tree branches.
Plus, a bumper mount is absolutely perfect for cutting through harsh weather. Because the light sits below your line of sight, it does not reflect off fog or rain back into your eyes. It illuminates the road directly in front of your tires. This helps you spot deep ruts and sharp rocks before you ever hit them.
3. The Back of the Vehicle (The Rear Mount)
Most drivers focus completely on the front of their rig. But people often forget about what happens behind them. Installing an LED light bar rear setup is a total lifesaver on dark, tight trails.
It makes backing up a heavy, loaded truck so much safer. You will clearly see trees, ditches, and other vehicles in your mirrors. You can also use it as an amazing utility light to illuminate a campsite while you pitch your tent or unload gear.
| Mounting Location | Best For | Pros | Cons |
|---|---|---|---|
| Roof Mount | High-speed desert runs and open trails | Maximum distance visibility, daylight-like spread | Windshield glare, wind noise, snags on low branches |
| Bumper Mount | Fog, snow, dust, and rocky trails | Cuts through harsh weather, zero glare, clean look | Shorter beam distance, vulnerable to front impacts |
| Rear Mount | Reversing, overlanding, and campsite setup | Makes backing up safe, excellent utility lighting | Not used for forward driving, requires long wire runs |
Legal Limits and Beam Patterns
You also need to think about local laws and beam patterns when deciding what is the best placement for a light bar. Always check your state regulations before heading out. Many states require covers on auxiliary off-road lights while you are driving on public highways.
Beam patterns are just as vital. Use “spot” beams for high roof mounts to push light far down the road. Use “flood” beams on lower bumper mounts to spread light wide across the immediate trail. Mixing and matching correctly will give you the ultimate visibility.
Conclusion: Making Your Final Choice
So, at the end of the day, what is the best placement for a light bar? It truly comes down to your personal needs and your weekend adventures.
If you need maximum distance for fast driving, go high with a roof mount. If you need fog visibility and a clean look, stay low on the bumper. Think about your typical driving conditions, pick the spot that makes the most sense, and enjoy your night drives safely.
